Revamping the Look of Your Vinyl Fence: A Comprehensive Guide
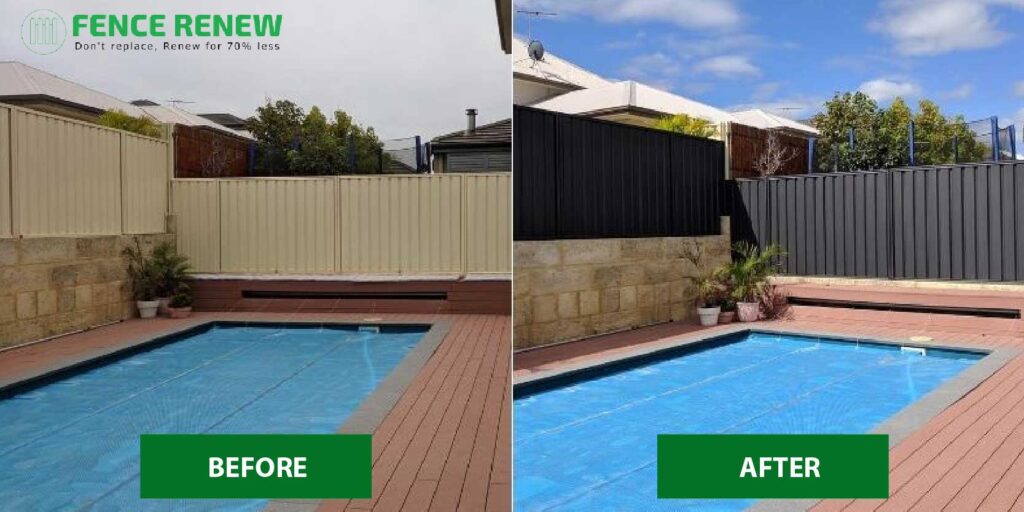
Are you growing weary of the dull, monotonous colour of your vinyl fence? Perhaps the once trendy sage and sunflower yellow blend that was all the rage in the 2010s now appears dated. The good news is, you can indeed change the colour of your vinyl fence. However, the process is not as straightforward as it might seem, and it requires a fair amount of preparation and the right kind of paint. Be warned, though, painting your vinyl fence could potentially nullify the manufacturer’s warranty.
Vinyl fences are designed to last for up to 50 years with proper care. The colour is ingrained into the material during manufacturing, which means unlike wood, you can’t simply sand it down to a neutral base. Nevertheless, many homeowners and even Homeowners Associations (HOAs) prefer vinyl fences due to their durability and long-lasting aesthetic appeal.
To embark on your vinyl fence makeover, you’ll need some essential tools and materials: 220-grit sandpaper, a sanding block, a detergent or soap, a water source, a soft and stiff-bristled brush, and a power washer if available. For painting, you can use either a paint-spraying system or traditional rollers and brushes.
When choosing paint, opt for an epoxy-based exterior paint that’s specifically formulated for use on vinyl. Avoid oil or latex-based paints as they do not accommodate the expansion and contraction of vinyl fences and may result in cracking or peeling. Products like BEHR Premium Plus Exterior Flat or Valspar Duramax Tintable Exterior Paint and Primer are excellent choices. Light colours are recommended as darker shades absorb heat and could cause warping.
Before you start painting, it’s crucial to clean your fence thoroughly. A combination of detergent and Dawn soap or a vinegar-water solution can be used for this purpose. Start with a hard-bristle brush to remove the dirt lodged in the crevices, then switch to a softer brush for the panels. Rinse the fence with fresh water afterwards. A power washer can expedite this process and yield better results.
Next, sand the fence using sandpaper for tight spots and a sanding block for larger areas. Rinse off the dust and use a vinyl repair kit, such as the Vinyl Fence Patch Kit from Fence Daddy, to fix any damages.
Priming is another critical step in the process. A primer adds texture to the vinyl’s typically smooth surface, aiding in paint adhesion. Choose a primer with mold and mildew protection, like Dutch Boy’s Zero VOC Primer. Let the primer dry for about four hours before you start painting.
When painting, start with the corners, tops, and bottoms of the fence before moving on to the panels. Apply two to three coats, allowing each coat to dry before applying the next. Lastly, finish off with a high-gloss sealant to guard against fading, cracking, and bubbling.
Remember that while you can certainly undertake this project yourself, there are professionals available to assist. If you’re looking for a “Colourbond fence painter near me,” or need “gate repairs service” or “fence repairs near me,” there are plenty of options available. Additionally, if you’re considering “garage door painting,” professionals can ensure a seamless finish.
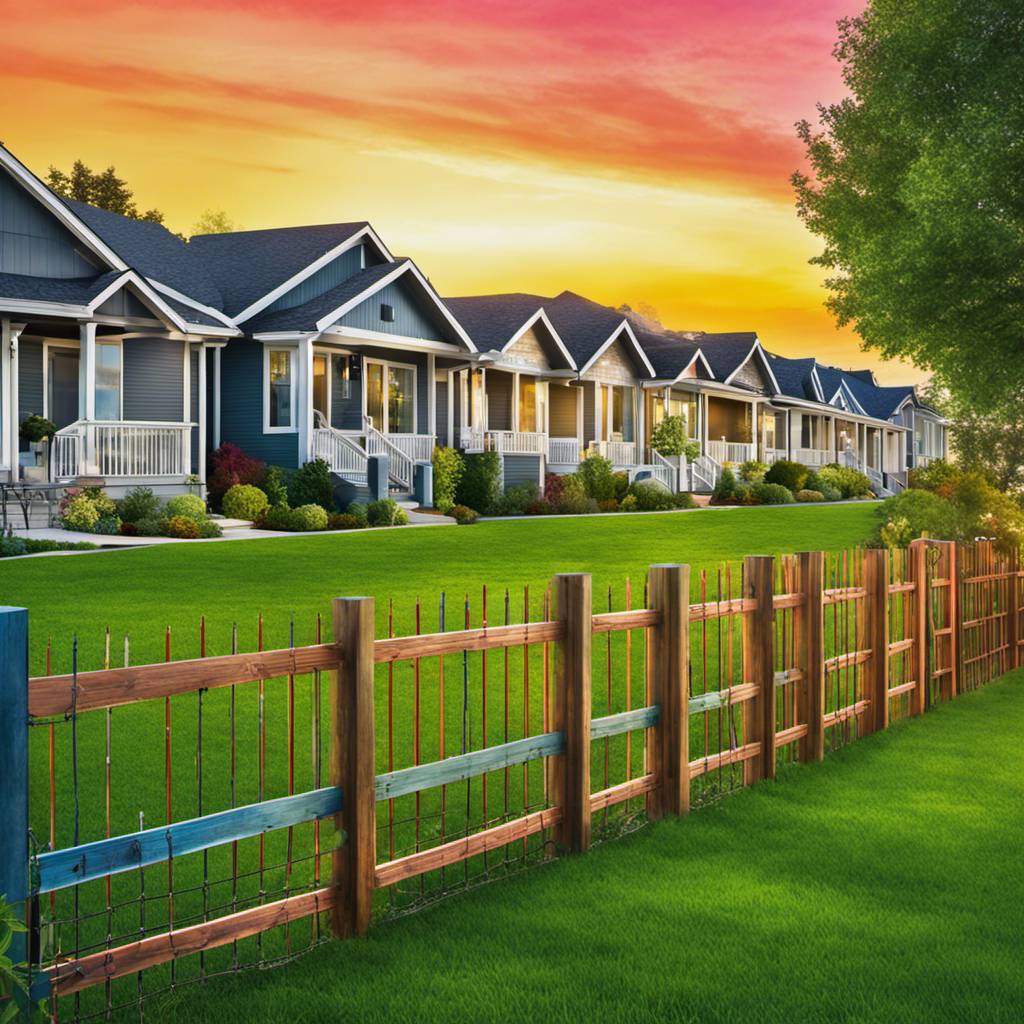
In conclusion, while changing the colour of your vinyl fence is indeed possible, it requires careful preparation and the right materials. With patience and attention to detail, you can give your vinyl fence a fresh new look that complements your home’s exterior and enhances its curb appeal.